


July 26, 2024
13 Support Strategies for Dementia and
Fall Prevention Exercises For The Elderly
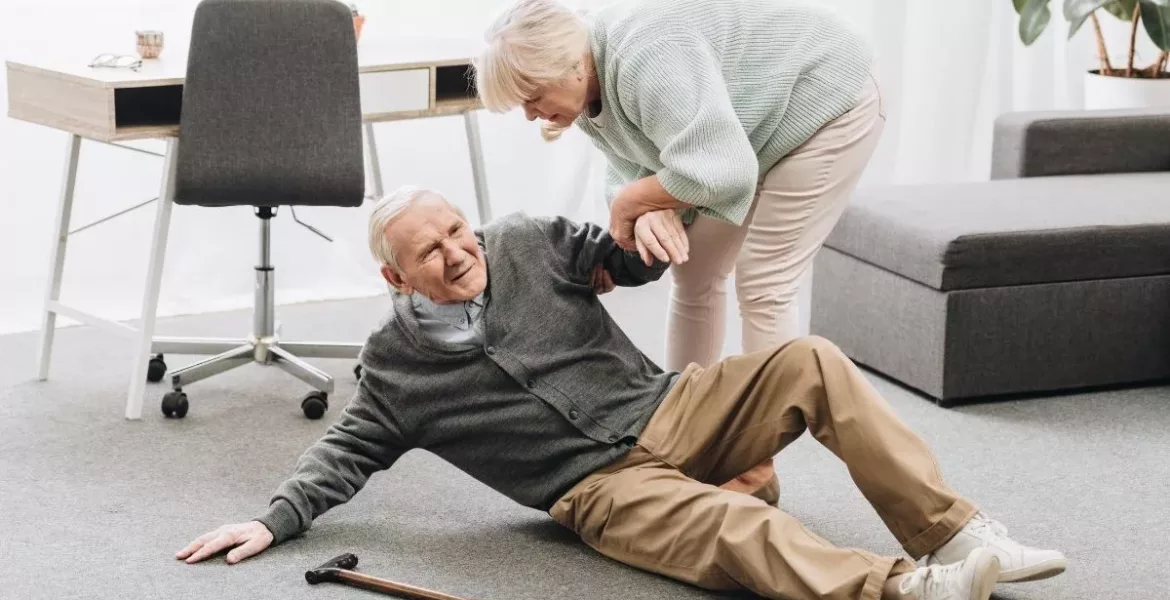
Falling in the home is a common and serious risk for the elderly. It is estimated that 1 in 4 over the age of 65 will suffer a fall in the home each year, and 50% of those will fall more than once. When you can’t quickly get up and dust yourself off like you could when you were 50 years younger, these falls can have serious consequences.
Fortunately, there are measures you can take as an older adult to significantly reduce (or even prevent) falls in the home. You can make adaptations to your home, such as having a mobility bathroom installed, but in addition to this, there are a number of simple exercises you can do which will reduce your risk of falling.
Regularly performing fall prevention exercises reduces fall risk by specifically strengthening muscles and joints which improve balance. Hip strengthening exercises in particular are important for improving flexibility, building strength and ultimately preventing falls.
Below we have put together a list of the top 10 fall prevention exercises for the elderly. These all require no equipment and can be carried out in the comfort of your own home. Don’t carry out these exercises if they make you feel unstable or if you’re unable to stand without support from others.
10 Fall Prevention Exercises For The Elderly
1. Sit to stand
Sit in a sturdy, stable chair with arms. From a standing position, reach back to the armrests to use as a guide and extra support and slowly sit down in the chair. Be sure to use the leg muscles and not drop down into the chair.
Then, use both legs and arms (pushing down on armrests) together to stand up. Then, pause for a moment. Repeat.
Work toward a goal of 10 repetitions, feeling steady and confident the whole time.
If that becomes too easy, increase the intensity by using only one hand. The next level after that is to keep your arms crossed in front of your chest and to not use them at all.
For extra safety, especially when first starting these exercises, keep another sturdy chair in front of you in case you lose balance or feel weak while doing the exercise.
2. March on the spot
Hold on to a sturdy chair back or a countertop. Stand with good posture and bring your knees up towards your chest, like marching on the spot.
Do this slowly and deliberately, using muscles instead of momentum.
Aim for 10 knee raises for each leg, or 20 marching steps.
3. Side leg raises
Hold on to a sturdy chair back or a countertop. Stand with good posture and raise one leg out to the side – keeping toes pointed straight ahead toward the chair or countertop.
Do this slowly and deliberately, using muscles instead of momentum. Avoid leaning forward or dipping the upper body to the opposite side while raising the leg.
Aim for 10 repetitions on each leg.
4. Back leg raises
Hold on to a sturdy chair back or a countertop. Stand with good posture and raise one leg straight behind the body. Keep the leg straight (don’t bend your knee).
Do this slowly and deliberately, using muscles instead of momentum. Avoid leaning forward or using a rocking motion while raising the leg.
Aim for 10 repetitions on each leg.
5. Toe to heel
Hold on to a sturdy chair back or a countertop. Stand with good posture and rise up onto your toes with your heels in the air. Then, lower your feet flat onto the floor and rock back on your heels to lift your toes in the air.
Aim for 10 repetitions (toes up + heels up = 1 repetition).
6. Balance on one leg
Stand in front of a counter or between two study chairs of the same height. Hold on to the supportive surface and bend the knee to raise one foot and balance on one leg. Then do the same on the other leg.
Aim to balance for 10 – 15 seconds on each leg.
Start with both hands holding on for support. As you progress, you can make it more challenging by using only one hand and then no hands.
7. Heel to toe stand
Stand between two study chairs of the same height and hold on for support. Slowly move one foot alongside the other until it’s directly in front and in-line with the other foot. Stand and balance in that position.
Aim to balance for 10 – 15 seconds on each leg.
As you progress, move the feet further apart while still keeping them in line.
8. Heel-toe walk
Stand next to a countertop and hold on with one hand. You can also use a cane or another person to provide support on the other side.
Walk along a straight line, placing the heel in front of the toe.
Do not do this exercise if it makes you feel uncomfortable or unsteady. It’s best to be safe.
9. Side twist
Stand with two study chairs of the same height on each side of the body. Place your feet about shoulder-width apart.
Using the whole upper body and head, turn and touch the chair on one side. Then, turn and touch the chair on the other side.
10. Side twist on one leg
If you feel comfortable to progress, do the same exercise as above while balancing on one leg.
Be cautious when attempting this, keep hold at all times, and/or have someone standing by ready to help.


